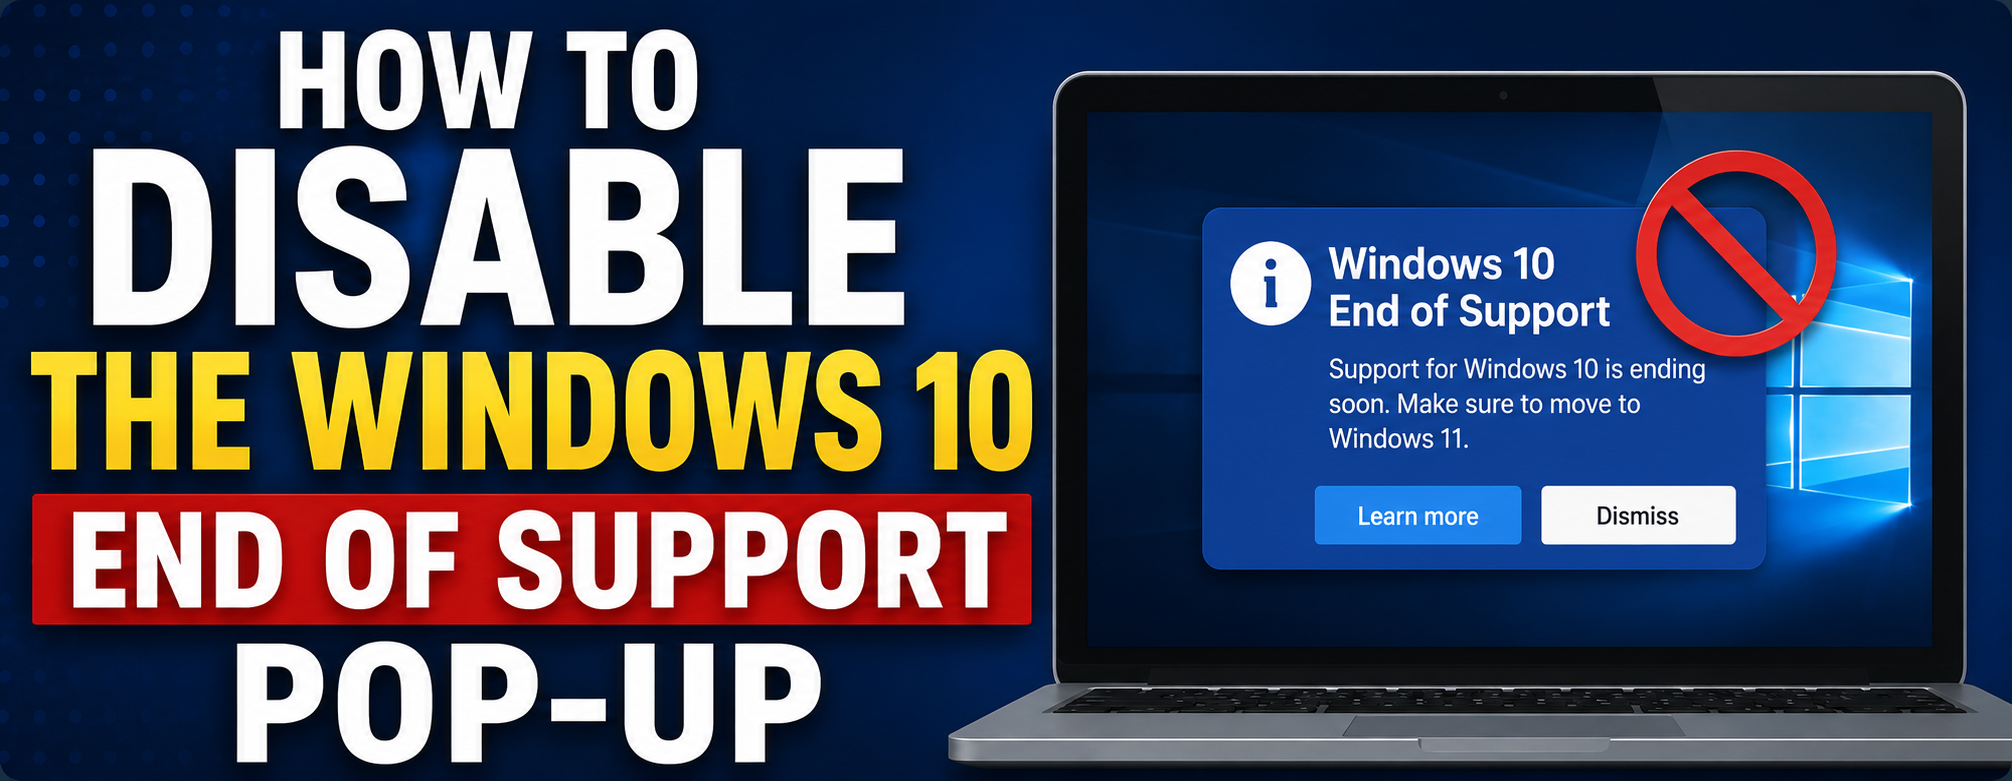
Learn how to disable Windows 10 end-of-support notifications using Registry Editor or PowerShell, while understanding the risks of continuing to use Windows 10.
A practical guide for reducing the Windows 10 end-of-support reminder using Registry Editor or PowerShell.
The Windows 10 “End of Support” pop-up is designed to encourage users to upgrade to Windows 11 before support for Windows 10 ends. While it may be useful for some, it can become intrusive if you want to keep using Windows 10 for now.
The safest option is to upgrade to a supported version of Windows, such as Windows 11. If you still want to remove the pop-up, the following methods can help.
Method 1: Using the Registry Editor
This method makes a system-level change, so follow the steps carefully.
Step 1: Open the Registry Editor
- Press Windows key + R to open the Run dialog.
- Type
regeditand press Enter. - If a User Account Control prompt appears, click Yes.
Step 2: Navigate to the correct key
- Go to
HKEY_LOCAL_MACHINE\SOFTWARE\Policies\Microsoft\Windows\WindowsUpdate. - If
WindowsUpdatedoes not exist, create it by right-clickingWindowsand choosing New > Key. - Create another key named
AUinsideWindowsUpdate.
Step 3: Create the values
- Select the
AUkey. - Right-click an empty space in the right pane and choose New > DWORD (32-bit) Value.
- Name it
NoAutoUpdate. - Double-click it and set the value data to
1. - Go back to
WindowsUpdate. - Create another DWORD (32-bit) Value named
DisableEOSNotify. - Set that value data to
1.
Step 4: Restart your computer
Close Registry Editor and restart your PC. The pop-up should no longer appear.
Method 2: Using PowerShell
This approach disables the scheduled tasks that trigger the reminders.
Step 1: Open PowerShell as administrator
- Press Windows key + X.
- Choose Windows PowerShell (Admin) or Terminal (Admin).
- Approve the UAC prompt if needed.
Step 2: Run the commands
Copy and run each command one at a time:
Get-ScheduledTask -TaskName "EOSNotify" | Disable-ScheduledTask
Get-ScheduledTask -TaskName "EOSNotify2" | Disable-ScheduledTask
Get-ScheduledTask -TaskName "GWX" | Disable-ScheduledTask
These commands disable the scheduled tasks responsible for end-of-support reminders and related upgrade prompts.
Step 3: Restart your computer
Close PowerShell and restart your PC. The notification should no longer appear.
Final Notes
Disabling the pop-up can make Windows 10 less distracting, but it does not extend support or improve security. If you plan to keep using Windows 10, make sure you understand the risks and keep your system protected as much as possible.
| Method | Difficulty | Best For |
|---|---|---|
| Registry Editor | Medium | Users comfortable making manual system changes |
| PowerShell | Advanced | Users who prefer command-line tools |