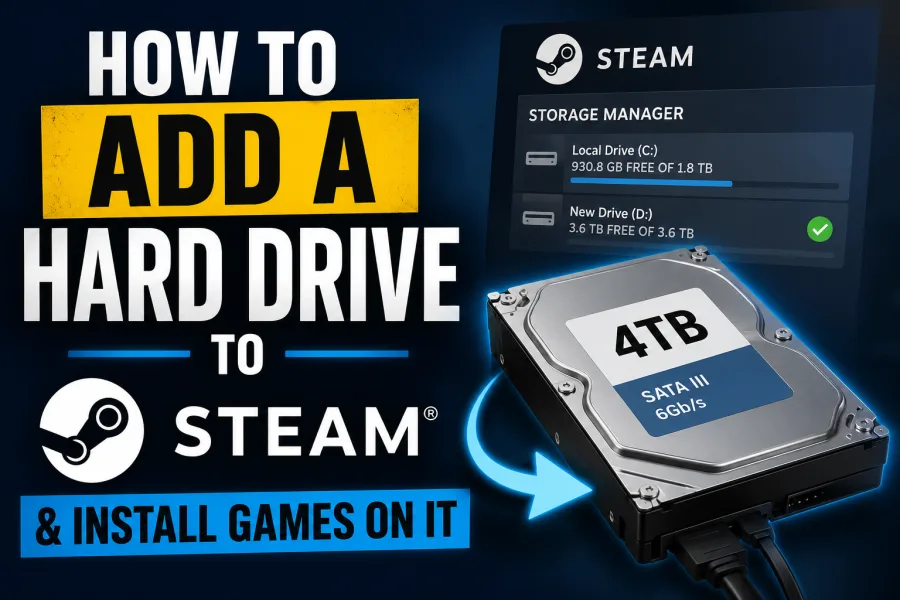
A step-by-step guide to adding an SSD/HDD to Steam, changing default download locations, and safely migrating your library to free up space.
Running out of storage is a modern PC gaming rite of passage. This quick, step-by-step guide will show you how to safely hook up a new SSD or HDD and start downloading your library directly to it.
Crucial First Step: Before doing anything in Steam, make sure your new drive is plugged in, initialized, and formatted. Windows drives must be formatted to NTFS, and Steam Deck/Linux drives to ext4, otherwise Steam will refuse to download games to them.
01
Register the New Drive in Steam
First, we need to let Steam know you have a secondary drive available. Steam keeps track of these via customized "Library Folders".
- Open the Steam application.
- In the top-left menu bar, click Steam and select Settings.
- In the Settings window, locate and click on the Storage tab in the left sidebar.
- At the very top, you will see a dropdown showing your current drive (likely labeled
C:\). Click this dropdown and choose Add Drive (or click the plus icon +). - Select your new drive letter from the list and click Add. Steam will automatically build the necessary directory structure (including the vital
steamapps/commonfolder) for you.
02
Install New Games to Your Secondary Drive
Now that Steam recognizes your new drive, choosing where to install new games is a breeze.
- Go to your Library and select the game you wish to download.
- Click the blue Install button.
- In the installation prompt, look for the "Install to:" dropdown menu.
- Choose your new drive from this dropdown instead of your default boot drive.
- Click Install to begin downloading directly to your new storage space.
Tired of changing the setting? Go back to Settings > Storage, click on your new drive, click the three-dot button ... next to the storage bar, and select Make Default. All future downloads will now go here automatically.
03
Bonus: Move Existing Games Without Re-downloading
You don't need to uninstall and reinstall your existing library to free up space. You can move games seamlessly using Steam's built-in file manager:
- Navigate back to Steam > Settings > Storage.
- Click on your original, crowded drive at the top of the window.
- Find the games you want to move in the list below and check the boxes on the right side of their names.
- Click the Move button in the bottom right corner of the window.
- Select your newly added drive as the destination and click Move. Sit back and watch Steam transfer the files smoothly!